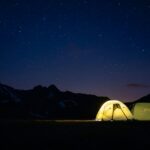
This setup wasn’t about testing limits, chasing lightweight numbers or proving anything.
It was a summer caravan trip in the Peak District, and it ended up being one of the most-used and most-enjoyed bits of kit I brought with me.
Most days, the hammock went up between two trees near the van and stayed there for hours. No rush, no plan — just a comfortable place to sit, lie back and switch off for a bit.
What surprised me was how quickly it became my spot.
How I Actually Used This Setup
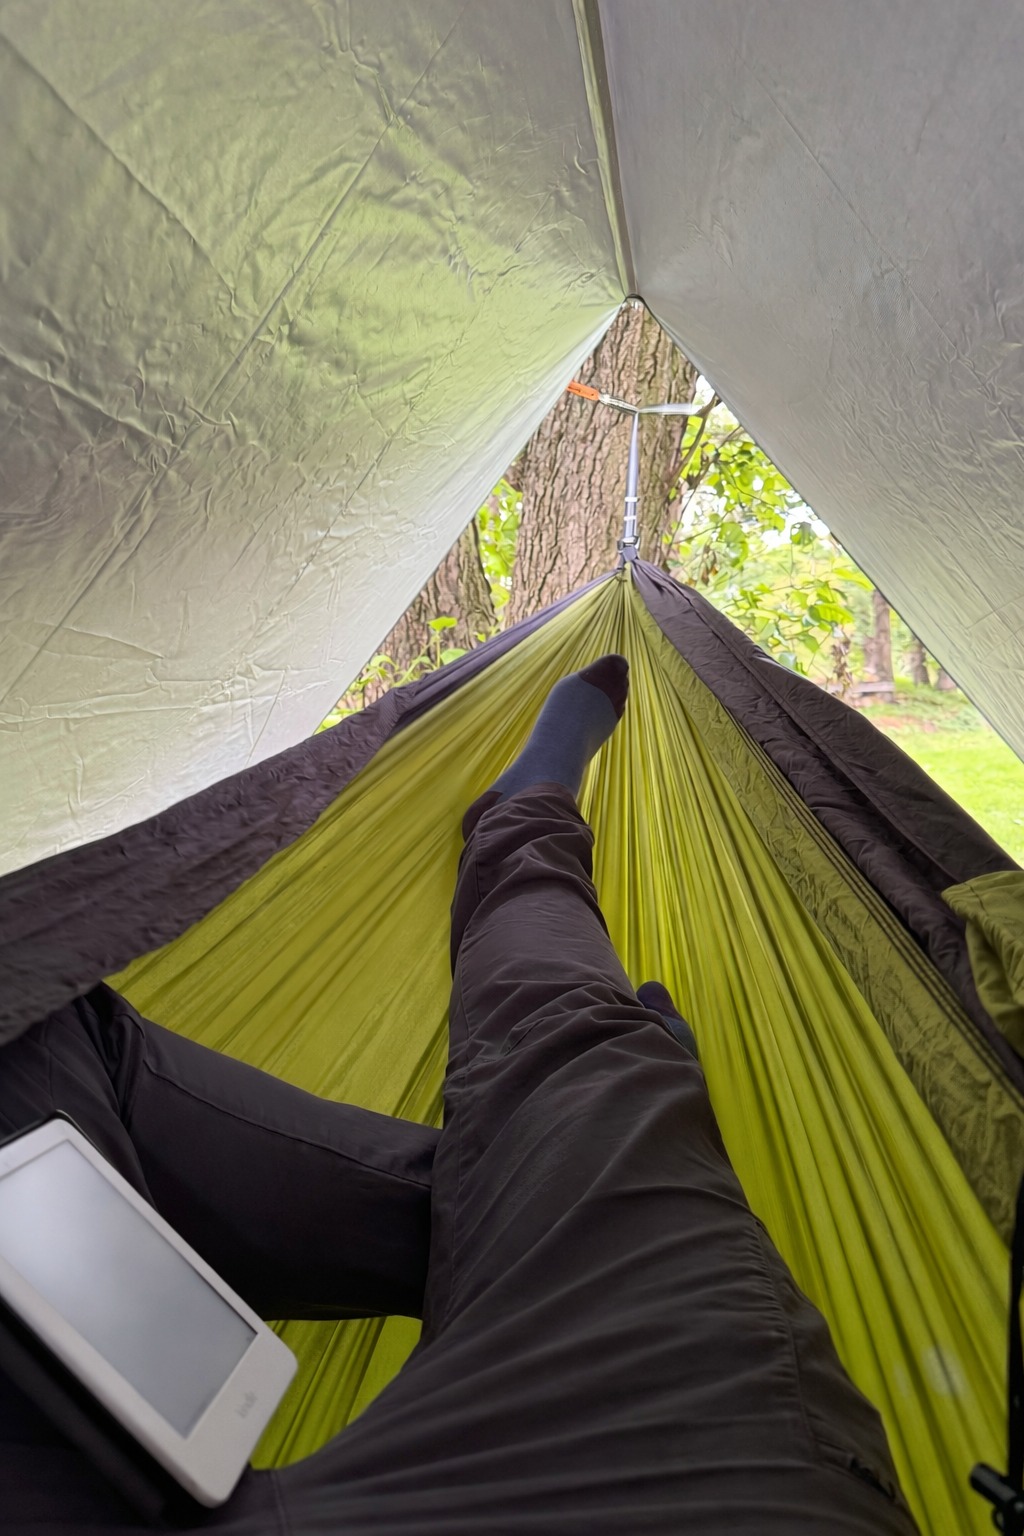
I mainly used the hammock for lounging during the day — reading, resting or just doing absolutely nothing.
I took my Kindle out with me fully intending to sit and read for a while. In reality, the hammock was so comfortable that I fell asleep almost every time. Not once or twice — pretty much every single time I tried to read.
That probably says more than any spec list ever could.
Why I Went for the Double Hammock
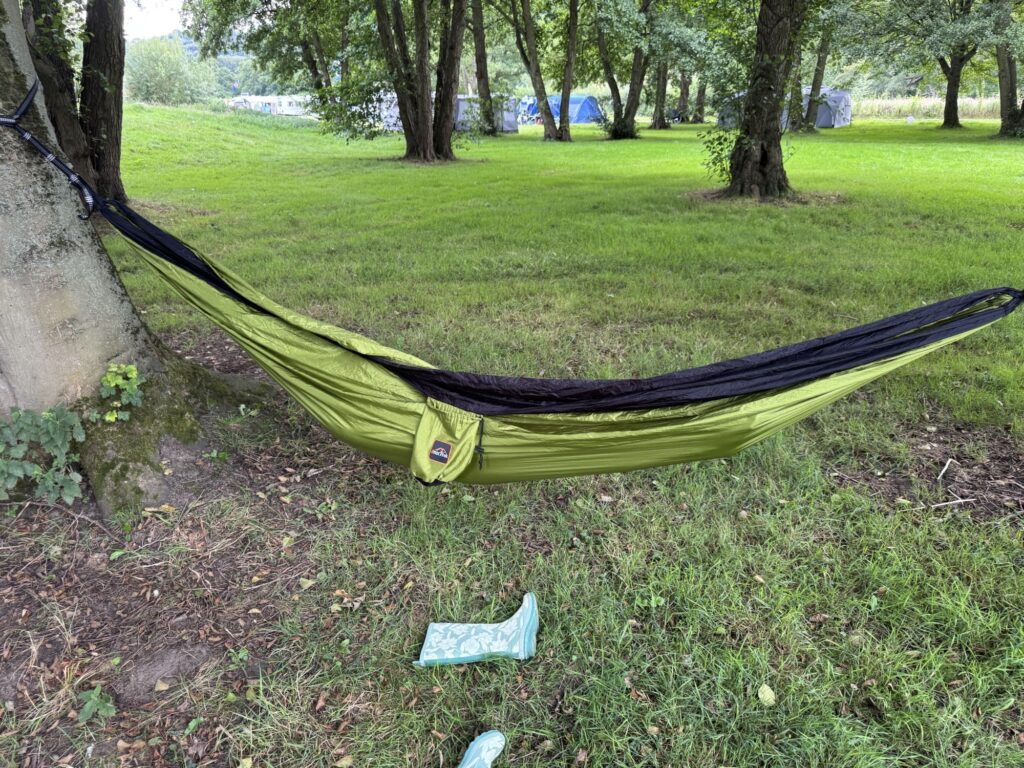
I chose the double hammock, and I’m really glad I did.
I’m a bigger guy, and even using it on my own there was loads of room. It never felt tight or restrictive, and lying diagonally was easy and comfortable.
At various points, both of my daughters jumped in with me, and there was still enough space for us to sit or lie back without it feeling sketchy or overloaded. I wouldn’t sleep overnight like that, obviously, but for daytime lounging it handled it comfortably.
Even if you’re planning to use a hammock solo, the extra width of a double makes a noticeable difference.
The Hammock Bag (A Small but Genuinely Useful Detail)
One thing I didn’t think much about before using it was the hammock’s stuff sack — but it turned out to be really handy.
Once the hammock is set up, the bag stays attached and becomes a built-in pocket. I used it to hold my phone, Kindle, sunglasses and the odd snack, which meant everything was within arm’s reach and not disappearing into the grass.
It’s a small detail, but one of those things you quickly miss when it’s not there.
Setting Up the Hammock (Simple and Stress-Free)
Setting the hammock up was genuinely easy.
It comes with tree straps and carabiners, so there’s no knot-tying or faffing about. I wrapped the straps around two trees, clipped in, and adjusted the height using the loops on the straps.
Most of the time, it was up in a couple of minutes.
The extra length of the straps made it easy to:
- Adjust height depending on tree spacing
- Fine-tune how flat or saggy the hammock felt
- Get a comfortable diagonal lie
It’s the kind of setup you don’t really think about after the first time — which is exactly how it should be.
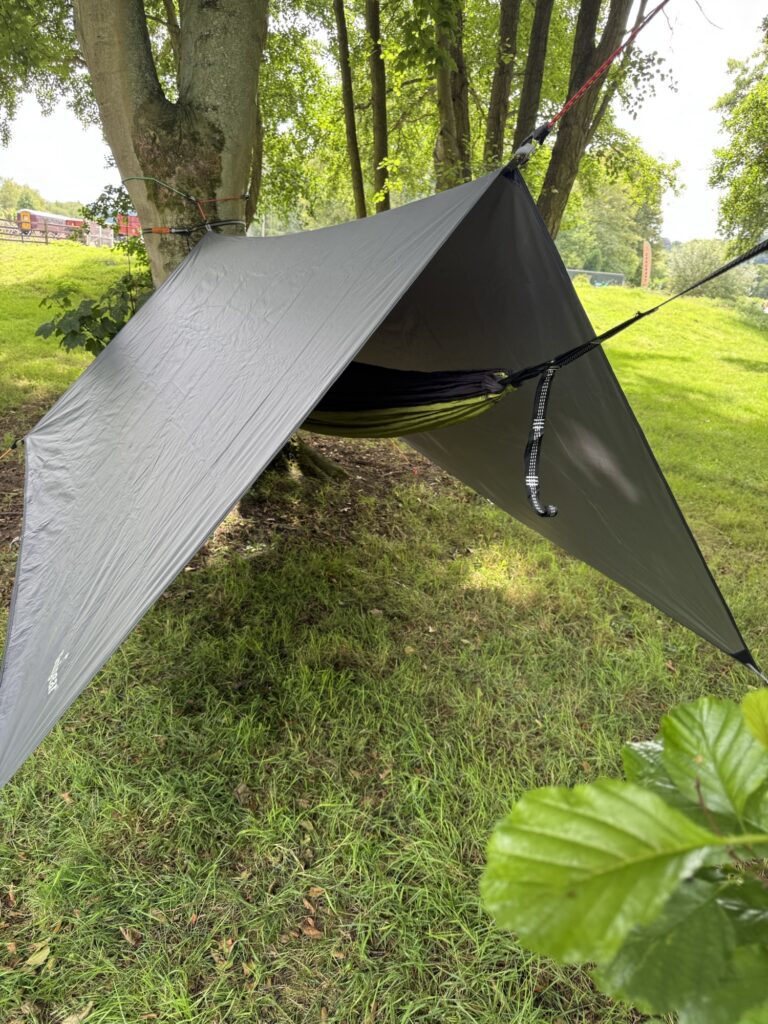
Using a 3 × 3 Tarp for Shade
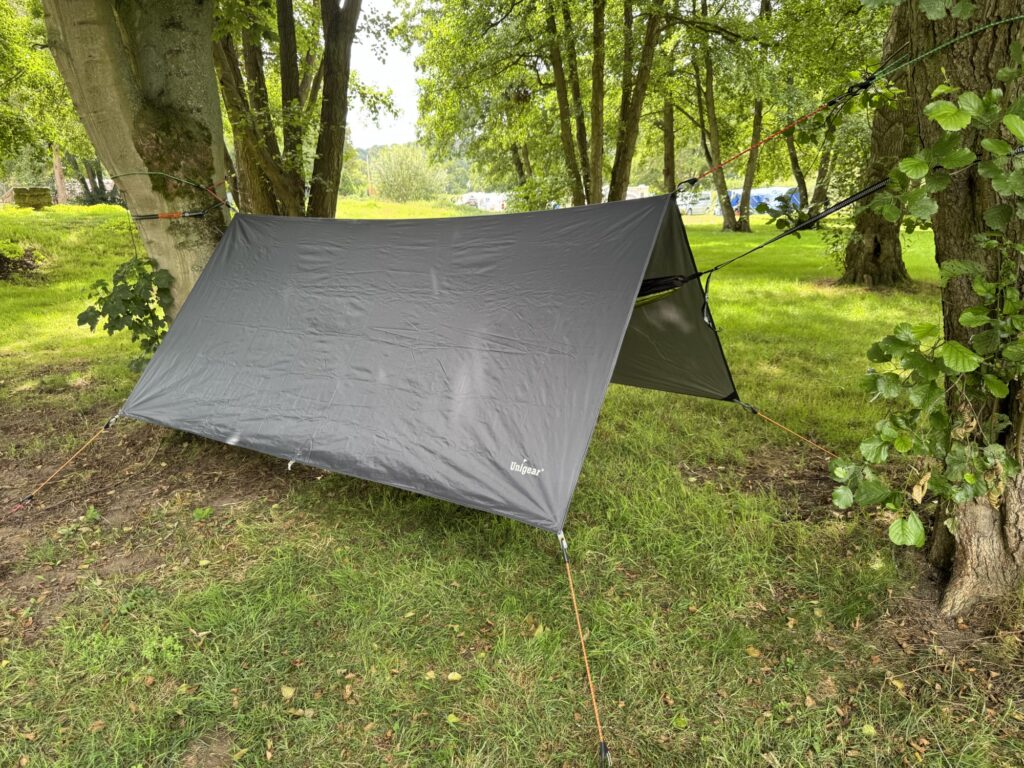
Alongside the hammock, I used a 3 × 3 metre tarp, usually pitched in a simple A-frame over the top.
That setup gave me a comfortable, shaded space during the warmer parts of the day while still letting air move through. The hammock stayed cooler, and it meant I could stay outside rather than retreating back into the caravan.
I also tried pitching the tarp diagonally, which gave more end-to-end coverage, but less protection down the sides. It’s a handy option depending on conditions, but for relaxed daytime use the A-frame felt like the better balance.
Either way, it made a big difference — turning the hammock into somewhere I actually wanted to spend time, reading, resting, or doing nothing at all.
Simple Specs (Just the Useful Stuff)
The Hammock
- Double size (roughly 3 m × 2 m)
- Parachute-style nylon fabric
- Comfortable for a larger adult
- Roomy enough for two adults during the day
- Lightweight and easy to pack
The Tarp
- 3 × 3 metres
- Durable fabric with waterproof coating
- Multiple tie-out points
- Best pitched A-frame or diagonally over a hammock
Nothing fancy — just practical kit that works well together.
The Gear Used in This Setup
Some of the links below are affiliate links. If you buy through them, it helps support Wild & Waves at no extra cost to you.
- Double camping hammock – the one used throughout this trip
- 3 × 3 metre tarp – used mainly for shade during the day
- Carabiner-style bungees – used to make setting the tarp up quicker and easier
Would This Work for Wild Camping?
Although I mainly used this setup on a caravan trip, it would also work really well for wild camping in woodland, especially in fair weather.
Even if you weren’t planning to sleep in it overnight, it would be ideal for evening lounging before bed — somewhere comfortable to sit, read or wind down before turning in for the night.
If you’re camping somewhere with good tree cover, a setup like this:
- Packs down small
- Goes up quickly
- Keeps you off the ground
- Works well with a tarp for shelter or shade
You’d obviously want to think about insulation and weather protection if staying overnight, but as a simple woodland hammock setup, it makes a lot of sense.
Low Cost, High Use
One of the biggest reasons this setup impressed me was how little it cost for how much use it got.
I won’t put exact figures on it, but the hammock and tarp together came in under £50, which feels like very good value considering how often I ended up using them.
For something that added this much comfort to the trip, it never felt like money wasted.
Final Thoughts
This isn’t a hardcore camping system, and it’s not trying to be.
It’s a simple, comfortable hammock setup that turned into my favourite place to sit, read, nap and slow down during a summer trip outdoors. And honestly, that’s exactly what I wanted from it.
If you’re looking for an easy, low-cost way to add comfort to campsite, caravan or woodland trips — especially in warmer weather — a setup like this is well worth considering.